The crew packs up, the dumpster leaves, and the new roof is in place. For many homeowners the natural impulse is to consider the job finished. On an older house that impulse is worth resisting for at least a few days. The first week after installation is the easiest time to catch small problems while the contractor is still responsive and before weather or debris hides the evidence.
I’m Heath Bannister. In more than a decade of reviewing residential claims and contractor work, I saw the same pattern: minor installation issues that were obvious in the first days became harder to document and correct once months had passed. A short, deliberate inspection routine in the first week gives the homeowner a clear baseline and a practical list of items to raise while the job is still fresh.
This article outlines the checks I consider most useful. None of them requires specialized tools. Most can be done from the ground or from a safe ladder, with one trip into the attic.
Start With a Slow Walk Around the Exterior
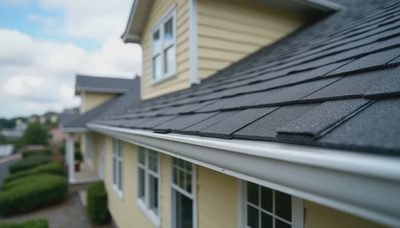
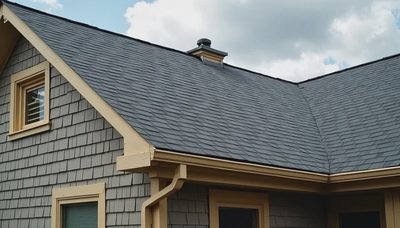
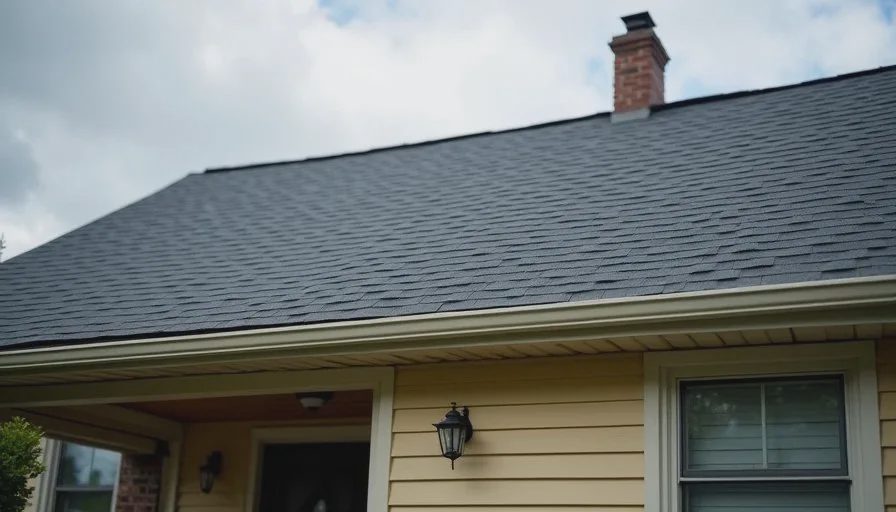
Begin at the ground and move slowly around the entire house. Look at the new shingle field from several angles and in different light if possible. The surface should appear consistent in color and alignment. Courses should run straight. There should be no obvious gaps, buckles, or areas where the shingles appear to lift.
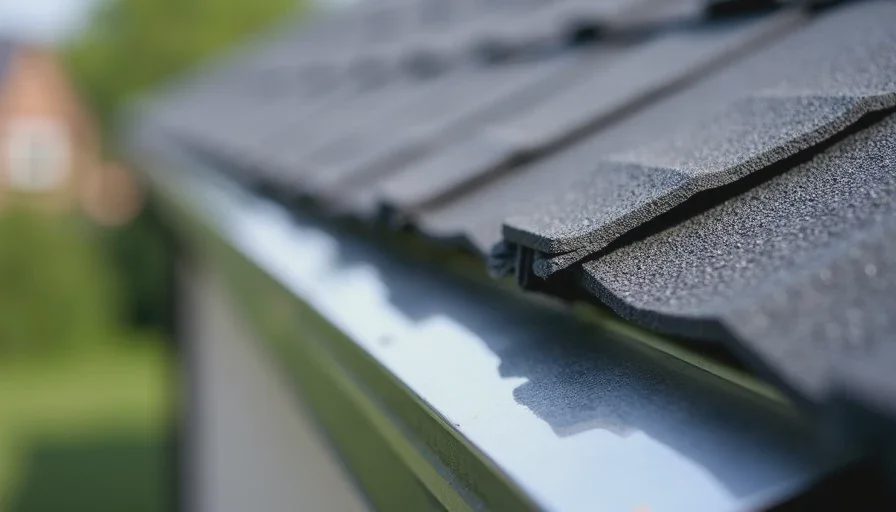
Pay particular attention to the edges. The drip edge should sit tight against the fascia and extend far enough to direct water into the gutters. Starter courses along the eaves should be visible and properly positioned. At the rakes (the sloping edges), the shingles should be cleanly finished without excessive overhang or exposed fasteners.
Gutters and downspouts deserve a close look. Roofing work often leaves granules, nails, and small debris in the gutters. A quick cleaning prevents staining and ensures that water can flow. While you are there, confirm that the new drip edge and any gutter aprons sit correctly relative to the gutter system.
Examine the Flashings and Penetrations
Flashings are the details that keep water out at every joint. Walk the perimeter and look at step flashing along sidewalls, counter flashing at chimneys, and the metal at valleys. The new metal should sit tight, with clean bends and no large gaps. Sealant, if used, should be neat and limited to the locations where it is actually required. Heavy reliance on sealant at joints that should be metal-to-metal is worth noting.
Check every penetration: plumbing vents, exhaust fans, electrical masts, and skylights if present. The boots or collars should be new or in clearly serviceable condition, seated properly, and integrated with the surrounding shingles. Old, cracked boots that were left in place are a common oversight and an easy item to flag in the first week.
Valleys should show a clean, consistent width and proper overlap of the shingles or metal. Water should have a clear path. Any place where the new work meets an existing wall or different roof plane is a natural point for careful inspection.
Look at the Ridges and Vents
Walk far enough back to see the ridge line. The ridge cap should run straight and sit securely. If a ridge vent was installed, the cut should be continuous and the vent itself should be properly capped at the ends. From the ground it is often possible to see whether the vent appears evenly seated.
Static vents or other exhaust terminations should be properly flashed and aligned. Any screen or cover should be intact. These components are easy to overlook once the main shingle field looks finished, yet they are frequent sources of later moisture issues if the installation is incomplete.
Go Into the Attic With a Bright Flashlight
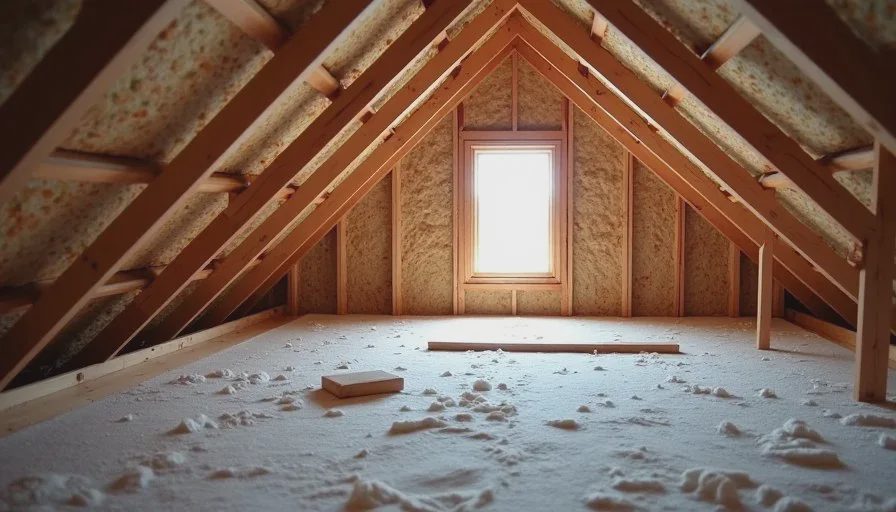
The underside of the new roof often reveals conditions that are invisible from outside. On a clear day, enter the attic and look at the underside of the decking along the slopes, at the ridge, and around penetrations. There should be no signs of fresh moisture, no daylight coming through gaps, and no loose debris left on the insulation.
Check that ventilation pathways are open. If baffles were installed at the eaves, they should be in place and clear of insulation. The ridge vent, if present, should show a continuous opening from below. An attic that still feels markedly hotter than expected or that shows blocked intake may indicate that the ventilation portion of the scope was not fully completed.
Take a few photographs while you are there. They create a dated record of the condition immediately after installation and become useful if any questions arise later.
Inspect for Debris and Site Conditions
Walk the yard and the driveway. Roofing nails are a common leftover and a hazard to tires and bare feet. A final magnet sweep is standard practice; if nails are still appearing days later, that is worth a call. Check that landscaping, outdoor furniture, and adjacent surfaces were protected or restored as agreed. Tarps, scrap shingles, and packaging materials should be gone.
Look at the fascia and soffit areas for any damage that may have occurred during the work. Minor scuffs are common; broken boards or bent gutters are not and should be noted promptly.
Document What You See
A simple written list and a set of photographs are more useful than memory. Note the date, the weather, and any items that look incomplete or inconsistent. Photograph the overall roof from several angles, close-ups of flashings and penetrations, the ridge line, and the attic conditions. Store the images with the original contract and scope. If a conversation with the contractor becomes necessary, the documentation makes the discussion specific rather than general.
Most reputable contractors expect a punch-list conversation and prefer to address items while the job is still recent. Raising clear, photographed concerns in the first week is ordinarily received as normal project close-out rather than as a complaint.
What Is Worth a Call and What Can Wait
Fresh daylight in the attic, active leaking, missing flashings, or widespread shingle alignment problems deserve a prompt call. Isolated granules in the gutters, a few stray nails, or minor cosmetic unevenness at a cut edge can often be noted and scheduled for a quick return visit. The distinction is practical: anything that affects water-shedding performance or safety should be addressed first.
If the scope included specific ventilation improvements, decking replacement criteria, or particular flashing details, compare what you see against those written items. A mismatch is easier to resolve while the crew’s memory of the job is still clear and before final payment is released, if any balance remains.
A Short First-Week Routine
A practical sequence looks like this:
Day 1–2: Exterior walk-around focusing on shingle field, edges, flashings, penetrations, and gutters.
Day 2–3: Attic inspection with flashlight and photographs.
Day 3–5: Yard and debris check, including a careful look for nails.
Day 5–7: Review notes against the original scope and place any needed call while the work is still recent.
The entire routine takes only a few hours spread across the week. It produces a clear record and a short list of items, if any, that need attention.
Why the First Week Matters on Older Homes
Older houses often have more complex transitions—multiple roof planes, older chimneys, previous additions, and attic spaces that were not designed for modern ventilation. Small installation misses at those transitions are more common than on simpler new construction. Catching them early protects both the performance of the new roof and the working relationship with the contractor.
The new roof will be on the house for many years. A short period of deliberate attention at the beginning is one of the highest-leverage steps a homeowner can take. Most issues that surface in the first week are still straightforward to correct. The same issues discovered six months later are harder to document, harder to schedule, and more likely to become sources of friction.
Take the time. Walk the perimeter. Look in the attic. Write down what you see. The roof will still be there tomorrow, and the first-week record will remain useful for as long as you own the house.